


Prepare the pieces of cloves in the afternoon, the day before planting. Carefully separate the cloves from each other, taking care not to injure them. Choose only the big pieces for planting. Soak the cloves for two minutes in a solution of Malathion prepared by mixing three tablespoonfuls in five gallons of water). Treating the cloves with Malathion would kill the microscopic mites that cause “tangle top,” a common garlic disease. Drain off the solution and put the cloves in a clean container for planting.
Land Preparation:
If the field is weedy and/or the soil surface is very irregular, plow and harrow the land thoroughly to kill weed seeds and to produce a fine, firm, smooth and level surface. Broadcast the recommended amount of fertilizers and mix thoroughly with the soil before leveling the field. For one hectare, use 125 to 175 kilos each of urea (45-0-0) and 14-14-14 or 12-24-12 NPK fertilizers. Mix the two fertilizers thoroughly. If urea is not available, use 235 to 270 kilos of ammonium sulphate. Mix with 115 to 130 kilos of 14-14-14 or 12-24-12 fertilizers. After applying the fertilizers and levelling the field, spread rice straw evenly throughout the entire paddy to a thickness of about 5 cms.
Irrigate the field just enough to moist the soil. In a few days, the field is ready for planting. In planting, mark the rows with the use of parallel lines of string spaced 20 cms. apart and placed just on top of the straw mulch. Hold the clove between the thumb and forefinger and set one-fourth of the clove into the soil. Then press the soil slightly but firmly towards the clove. Plant the cloves at intervals of 20 cms. in the row.Garlic does not need much irrigation. As long as there is sufficient soil moisture, bulb formation would be normal.
The plants are ready to be harvested as soon as three-fourths of the tops or leaves become fully ripe or dry. Lift the matured plants gently from the ground and then arrange the direct heat of the sun.
Pests and Diseases:
The important pests of garlic are mites and cut worms. Cut worms can be controlled by spraying the plants with solutions of: EPN-300 at three tablespoonfuls in five gallons of water plus sticker; and Imidan 50 W.P. at three tablespoonfuls in five gallons water plus sticker. Against mites, use Tedion V-18 at three tablespoonfuls of water. Spray the plants once a week. Pink Root which can be prevented only by planting resistant varieties.
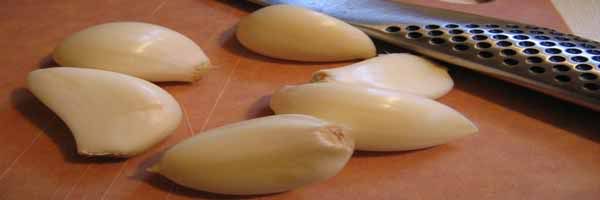
Source:http://elgu2.ncc.gov.ph, photo courtesy of savoringkentucky.com


Comments :
Post a Comment